
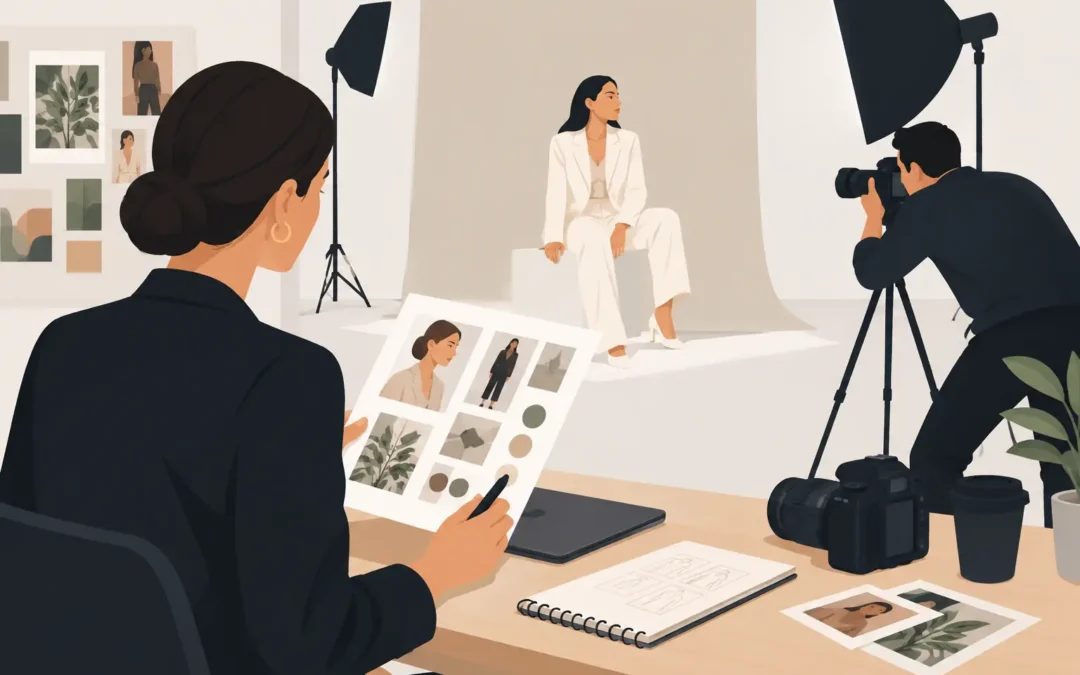
A strong editorial image rarely begins with a location or a lighting diagram. It begins with a point of view. Knowing how to plan an editorial shoot means deciding what the photographs should reveal before anyone arrives on set. The goal is not simply to make attractive images. It is to make images that give a subject, story, and publication a distinct visual identity.
For editorial teams, publicists, and creative directors, that distinction is often the difference between a usable asset and a photograph that carries the feature. Planning creates room for instinct on the day. Without it, even a beautiful set, accomplished subject, and capable crew can produce work that feels interchangeable.
Start With the Editorial Question
Every assignment has an underlying question. A profile of an actor may ask how their public persona shifts in private. A beauty story may consider texture, ritual, or color rather than product alone. An artist portrait may need to locate the person within the atmosphere of their work without turning the image into a literal illustration.
Write that question down in one or two sentences. It should be specific enough to direct decisions and open enough to allow surprise. “A cinematic portrait” is an aesthetic preference, not an editorial premise. “A portrait that places a guarded performer in an unexpectedly domestic world” gives the team something to test against.
This is also the point to establish the intended use. A magazine cover, a digital feature, a press package, and a brand journal may share a subject but require different images. Ask where the lead image will appear, whether vertical and horizontal crops are needed, how much negative space the layout demands, and whether the publication expects a sequence rather than one hero frame. These details shape the shoot before styling or scouting begins.
How to Plan an Editorial Shoot Around the Subject
The subject is not a prop within the concept. Their presence is the material. Research should go beyond a short biography and a few existing press photographs. Look at interviews, public appearances, creative references, workspaces, habits, and the ways they describe their own work. Notice the visual language already attached to them, then decide whether the assignment should refine it or move against it.
A familiar public figure may need distance from their established image. A less-photographed artist may need a structure that helps them feel at ease without making them appear overmanaged. The right approach depends on the person, their schedule, and the editorial context.
A concise pre-shoot conversation is often more useful than an extended questionnaire. Ask what they are working on, where they feel comfortable, what they do not want the photographs to suggest, and how much time they can genuinely give the process. Listen for details that cannot be found online: a favorite chair, a daily ritual, an unusual collection, a phrase that reveals humor or reserve. Those details can make a portrait feel observed rather than imposed.
Build a Treatment That Leaves Room to Work
A treatment should create alignment, not lock every image in place. Keep it focused: the central idea, a small selection of visual references, the proposed environment, palette, wardrobe direction, and an outline of the emotional register. It should allow an editor, publicist, subject, and production team to understand the intention quickly.
References are most useful when they explain a quality rather than ask the team to reproduce another photograph. Instead of presenting an image as a pose to copy, identify what matters about it: the quiet tension, direct flash, compressed space, washed color, or unguarded gesture. This keeps the work from becoming a collage of borrowed visual cues.
Be clear about non-negotiables. If the story relies on late-afternoon light, a certain architectural setting, or a particular casting dynamic, say so early. Separate those needs from preferences. A shoot can adapt when a preferred chair or garment disappears. It is harder to recover when the core visual premise is compromised after call time.
Scout for Light, Access, and Rhythm
A location can add meaning, but it can also consume the day. The most striking space is not always the best choice if access is restrictive, natural light is fleeting, or the subject has only 45 minutes available. Editorial production is a series of trade-offs, and the best location is usually the one that supports the story while preserving time to photograph.
Visit the space at the intended shooting hour whenever possible. Observe the direction and quality of light, available power, room to move, surface colors, sound, parking, elevators, permissions, and areas where the subject can change or take a break. Photograph the scout simply and accurately. These images are functional references for framing, gear, and timing.
Plan one primary setup and two or three variations within close reach. A window, hallway, exterior threshold, or adjacent room can provide visual range without breaking momentum. Moving a full crew across a city for a second setup can be worthwhile, but only when the change of place adds a necessary chapter to the story.
Make the Schedule Protect the Pictures
A call sheet should clarify the day without pretending that every minute is controllable. Build in time for late arrivals, grooming adjustments, wardrobe changes, technical resets, and conversation. The subject should not feel that the entire production is waiting for them to become photogenic on command.
Start with a simple, lower-pressure setup whenever possible. It gives the photographer time to read the subject and lets the subject understand the pace of the room. Save the most demanding setup for when rapport has formed, unless a narrow window of light requires the reverse order.
The schedule also needs a decision point. If the first setup is producing the lead image, recognize it and move on. If it is not, change something meaningful: the distance, the lens, the light, the direction, or the activity. Repeating the same instruction more loudly rarely changes the photograph.
Prepare the Team for a Consistent Frame
Editorial shoots benefit from a small team with clear roles. The photographer holds the visual direction. A producer protects logistics and time. Styling, grooming, digital support, and assistants should understand the premise well enough to make independent decisions that support it.
Share the treatment and call sheet in advance, but keep communication on set concise. Too much commentary can make a subject self-conscious and dilute the atmosphere. The strongest sets often feel calm because everyone knows what they are responsible for.
Wardrobe deserves particular attention. Clothes should support the person and the frame, not merely announce that styling occurred. Consider movement, texture, fit while seated, how fabric behaves in the chosen light, and whether logos or patterns will distract in the final crop. Bring options, but avoid turning every setup into a fitting session. A smaller, considered edit usually photographs with more authority.
Shoot for the Edit, Not Just the Hero Frame
The hero image matters, but an editorial story needs transitions. Photograph wide frames that establish place, closer portraits that hold expression, details that offer rhythm, and quieter moments between directions. These images give art directors and photo editors room to build a sequence that feels intentional.
Leave compositional options where the layout may need them. Create both vertical and horizontal frames when the concept allows. Test generous negative space, but do not make every image a template for text. The strongest selects should still stand on their own when the page is empty.
Review selectively during the shoot. Checking exposure, color, and framing is practical; constant review can interrupt the connection with the subject. If a screen is used, let it confirm a decision rather than replace one.
Treat Postproduction as Part of the Direction
The edit is where the shoot declares what it was about. Select for presence, variation, and narrative usefulness, not just technical perfection. A slightly imperfect frame with a real expression may carry more weight than a polished image that says nothing.
Keep retouching aligned with the premise. Skin, texture, and environment can be refined without being emptied of character. Editorial portraiture often gains credibility when it retains evidence of a real person in a real space. The appropriate degree of finish depends on the outlet and subject, but polish should not erase the photograph’s temperature.
Deliver a disciplined selection. Too many near-duplicates shift the burden of authorship to the client. A clear edit communicates confidence and makes it easier for the publication to see the story in the work.
The final measure is simple: when the photographs are viewed away from the production notes, do they still suggest a person, a place, and a specific moment? If they do, the planning has done its job quietly. It has made space for the image to remain.